Raspberry Pi Remote IO Setup Free: Your Ultimate Guide To Unlocking Raspberry Pi's Full Potential
So you're ready to dive into the world of Raspberry Pi remote IO setup free, huh? Well, buckle up because this is going to be one wild ride. Picture this: you've got your trusty Raspberry Pi sitting there on your desk, just waiting for you to turn it into a powerhouse of remote control magic. But where do you even start? Fear not, my friend, because in this guide, we're going to walk you through everything you need to know to set up your Raspberry Pi for remote IO operations without breaking the bank. No fancy paid software here—just good old-fashioned DIY tech wizardry.
Now, before we get too deep into the nitty-gritty, let's talk about why you're here. You're probably someone who's heard about the wonders of Raspberry Pi and how it can revolutionize the way you interact with devices, sensors, and even your home automation systems. And you're right—it absolutely can. But setting up a Raspberry Pi for remote IO isn't as straightforward as plugging in a few wires and hoping for the best. That's where we come in. We're going to break it down step by step, so you can feel like a tech pro in no time.
Here's the deal: this guide isn't just about throwing random commands at you and hoping they stick. We're going to explain everything in a way that makes sense, even if you're new to the whole Raspberry Pi scene. By the time you're done reading, you'll have a solid understanding of what Raspberry Pi remote IO setup free means, how to do it, and why it's such a game-changer. So grab your favorite beverage, sit back, and let's get started.
- Unveiling The Mystery Spy Kids Thumb People Fact Or Fiction
- Why Are Graciebon Videos So Popular The Secret Is Out
Without further ado, here's a quick peek at what we'll cover:
- What is Raspberry Pi Remote IO?
- Benefits of Raspberry Pi Remote IO
- Getting Started with Raspberry Pi
- Software Requirements
- Hardware Setup
- Connecting to the Network
- Configuring Remote Access
- Setting Up GPIOs
- Testing Your Setup
- Troubleshooting Tips
What is Raspberry Pi Remote IO?
Alright, let's start with the basics. When we talk about Raspberry Pi remote IO, we're referring to the ability to control input and output devices remotely using a Raspberry Pi. Think of it like having a little robot brain that can interact with the world around it, but instead of needing to be physically present, you can send it commands from anywhere as long as you have an internet connection. Cool, right?
Remote IO setup allows you to control things like lights, motors, sensors, and even more complex devices like cameras and displays. The possibilities are pretty much endless, which is what makes Raspberry Pi so exciting for hobbyists, engineers, and tech enthusiasts alike. Plus, the fact that you can set all this up for free makes it even more appealing.
- Ncaa 25 Domination Find The Best Playbooks Ncaa 25 Today
- Is Max The One All About Eve Hewsons Partner Rumored
Why Should You Care?
Here's the thing: being able to control devices remotely isn't just a cool party trick. It has real-world applications that can save you time, money, and a whole lot of hassle. For example, if you're into home automation, you can use Raspberry Pi to control your smart home devices without relying on expensive proprietary systems. Or maybe you're building a robot, and you want to be able to control its movements from your phone or laptop. The versatility of Raspberry Pi remote IO is what makes it so powerful.
Benefits of Raspberry Pi Remote IO
Now that you know what Raspberry Pi remote IO is, let's talk about why you should care. There are plenty of benefits to setting up your Raspberry Pi for remote IO, and here are just a few:
- Cost-Effective: You don't need to spend a fortune on expensive hardware or software to get started. A Raspberry Pi and some basic components are all you need.
- Flexibility: With Raspberry Pi, you can control almost any device you can think of. From simple LED lights to complex industrial machinery, the possibilities are endless.
- Scalability: Whether you're working on a small project or a large-scale operation, Raspberry Pi can grow with your needs.
- Learning Opportunity: Setting up Raspberry Pi for remote IO is a great way to learn about electronics, programming, and networking. It's like getting a hands-on education in tech.
These benefits make Raspberry Pi remote IO setup free an attractive option for anyone looking to dip their toes into the world of IoT (Internet of Things) and remote control systems.
Getting Started with Raspberry Pi
Before we dive into the specifics of setting up your Raspberry Pi for remote IO, let's talk about what you'll need to get started. First and foremost, you'll obviously need a Raspberry Pi. If you're new to this, you might be wondering which model to choose. The good news is that most Raspberry Pi models will work for remote IO projects, but the Raspberry Pi 4 is generally recommended because of its improved performance and connectivity options.
Here's a quick list of things you'll need:
- Raspberry Pi (any model will do, but Raspberry Pi 4 is recommended)
- MicroSD card (at least 16GB, preferably 32GB or more)
- Power supply (make sure it's compatible with your Raspberry Pi model)
- Case (optional, but highly recommended for protecting your Raspberry Pi)
- Keyboard and mouse (for initial setup)
- Monitor or TV with HDMI input (again, just for initial setup)
- Network cable or Wi-Fi connection
Once you've got all your hardware sorted, it's time to move on to the software side of things.
Software Requirements
When it comes to software, the beauty of Raspberry Pi is that it runs on a variety of operating systems, but the most popular choice is Raspberry Pi OS. This lightweight Linux-based OS is specifically designed for Raspberry Pi and comes packed with all the tools you'll need to get started with remote IO.
Here's how you can install Raspberry Pi OS:
- Download the Raspberry Pi Imager from the official Raspberry Pi website.
- Insert your microSD card into your computer and launch the Raspberry Pi Imager.
- Select the Raspberry Pi OS image you want to use and choose your microSD card as the target device.
- Click "Write" and let the imager do its thing.
- Once it's done, safely eject your microSD card and insert it into your Raspberry Pi.
And just like that, you've got your Raspberry Pi ready to roll with the right software. But wait, there's more!
Additional Software Tools
Depending on your project, you might need some additional software tools. For remote IO, you'll likely want to use SSH (Secure Shell) for remote access and a GPIO library for controlling your input and output devices. Here's a quick rundown of what you'll need:
- SSH: Allows you to connect to your Raspberry Pi remotely from another computer or device.
- GPIO Libraries: These libraries make it easy to control GPIO pins on your Raspberry Pi. Some popular choices include RPi.GPIO and pigpio.
Don't worry if this all sounds a bit overwhelming right now—we'll go over how to set these up in more detail later.
Hardware Setup
Now that your software is all set, it's time to tackle the hardware side of things. This is where the magic happens, folks. You'll need to connect your Raspberry Pi to the devices you want to control, whether that's a simple LED or a complex sensor array.
Here's a step-by-step guide to setting up your hardware:
- Connect Power: Make sure your Raspberry Pi is powered off before you start connecting any components. Safety first!
- Connect GPIO Devices: Use jumper wires to connect your devices to the appropriate GPIO pins on your Raspberry Pi. Refer to the Raspberry Pi GPIO pinout diagram to ensure you're connecting everything correctly.
- Test Connections: Double-check all your connections to make sure everything is secure and properly aligned.
- Power On: Once you're confident everything is connected correctly, power on your Raspberry Pi and move on to the next step.
With your hardware all set up, it's time to connect your Raspberry Pi to the network.
Connecting to the Network
For remote IO to work, your Raspberry Pi needs to be connected to a network. You can do this either via Ethernet or Wi-Fi, depending on your setup. Here's how:
Ethernet Connection
If you're using an Ethernet cable, simply plug it into the Ethernet port on your Raspberry Pi and connect the other end to your router. Your Raspberry Pi should automatically obtain an IP address from your router, but if it doesn't, you can manually configure it using the Raspberry Pi OS settings.
Wi-Fi Connection
For Wi-Fi, you'll need to configure your network settings in Raspberry Pi OS. Here's how:
- Open the Raspberry Pi OS settings menu.
- Go to the "Network" section and select "Wi-Fi."
- Choose your Wi-Fi network from the list and enter your password when prompted.
- Once connected, your Raspberry Pi will obtain an IP address from your router.
With your Raspberry Pi connected to the network, you're ready to move on to configuring remote access.
Configuring Remote Access
Now we're getting into the fun part. To control your Raspberry Pi remotely, you'll need to enable SSH. Here's how:
- Open the Raspberry Pi OS settings menu.
- Go to the "Interfaces" section and select "SSH."
- Enable SSH and save your changes.
Once SSH is enabled, you can connect to your Raspberry Pi from another computer using an SSH client like PuTTY (for Windows) or simply using the terminal on Mac or Linux. Just enter the IP address of your Raspberry Pi, and you'll be good to go.
Setting Up GPIOs
Finally, it's time to set up your GPIO pins for remote control. This is where those GPIO libraries we mentioned earlier come into play. Here's a quick example using the RPi.GPIO library:
First, you'll need to install the library:
sudo apt-get install python3-rpi.gpio
Then, you can write a simple Python script to control a GPIO pin:
import RPi.GPIO as GPIO import time GPIO.setmode(GPIO.BCM) GPIO.setup(18, GPIO.OUT) try: while True: GPIO.output(18, GPIO.HIGH) time.sleep(1) GPIO.output(18, GPIO.LOW) time.sleep(1) except KeyboardInterrupt: GPIO.cleanup()
This script will toggle GPIO pin 18 on and off every second. You can modify it to suit your needs, whether you're controlling an LED, a motor, or something else entirely.
Testing Your Setup
Once everything is set up, it's time to test your Raspberry Pi remote IO setup. Connect to your Raspberry Pi using SSH and run your Python script. If everything is working correctly, you should see your device responding to your commands. If not, don't panic—troubleshooting is part of the process.
Troubleshooting Tips
Here are a few common issues you might encounter and how to fix them:
- SSH Not Working: Make sure SSH is enabled in Raspberry Pi OS settings. Also, double-check your IP address and ensure your firewall isn
- Is Max The One All About Eve Hewsons Partner Rumored
- Vegamovies18 Is It Safe Everything You Need To Know In 2024

Remote Desktop for Raspberry Pi and other IoT devices

Pi Cam a Raspberry Pipowered remote camera Raspberry Pi
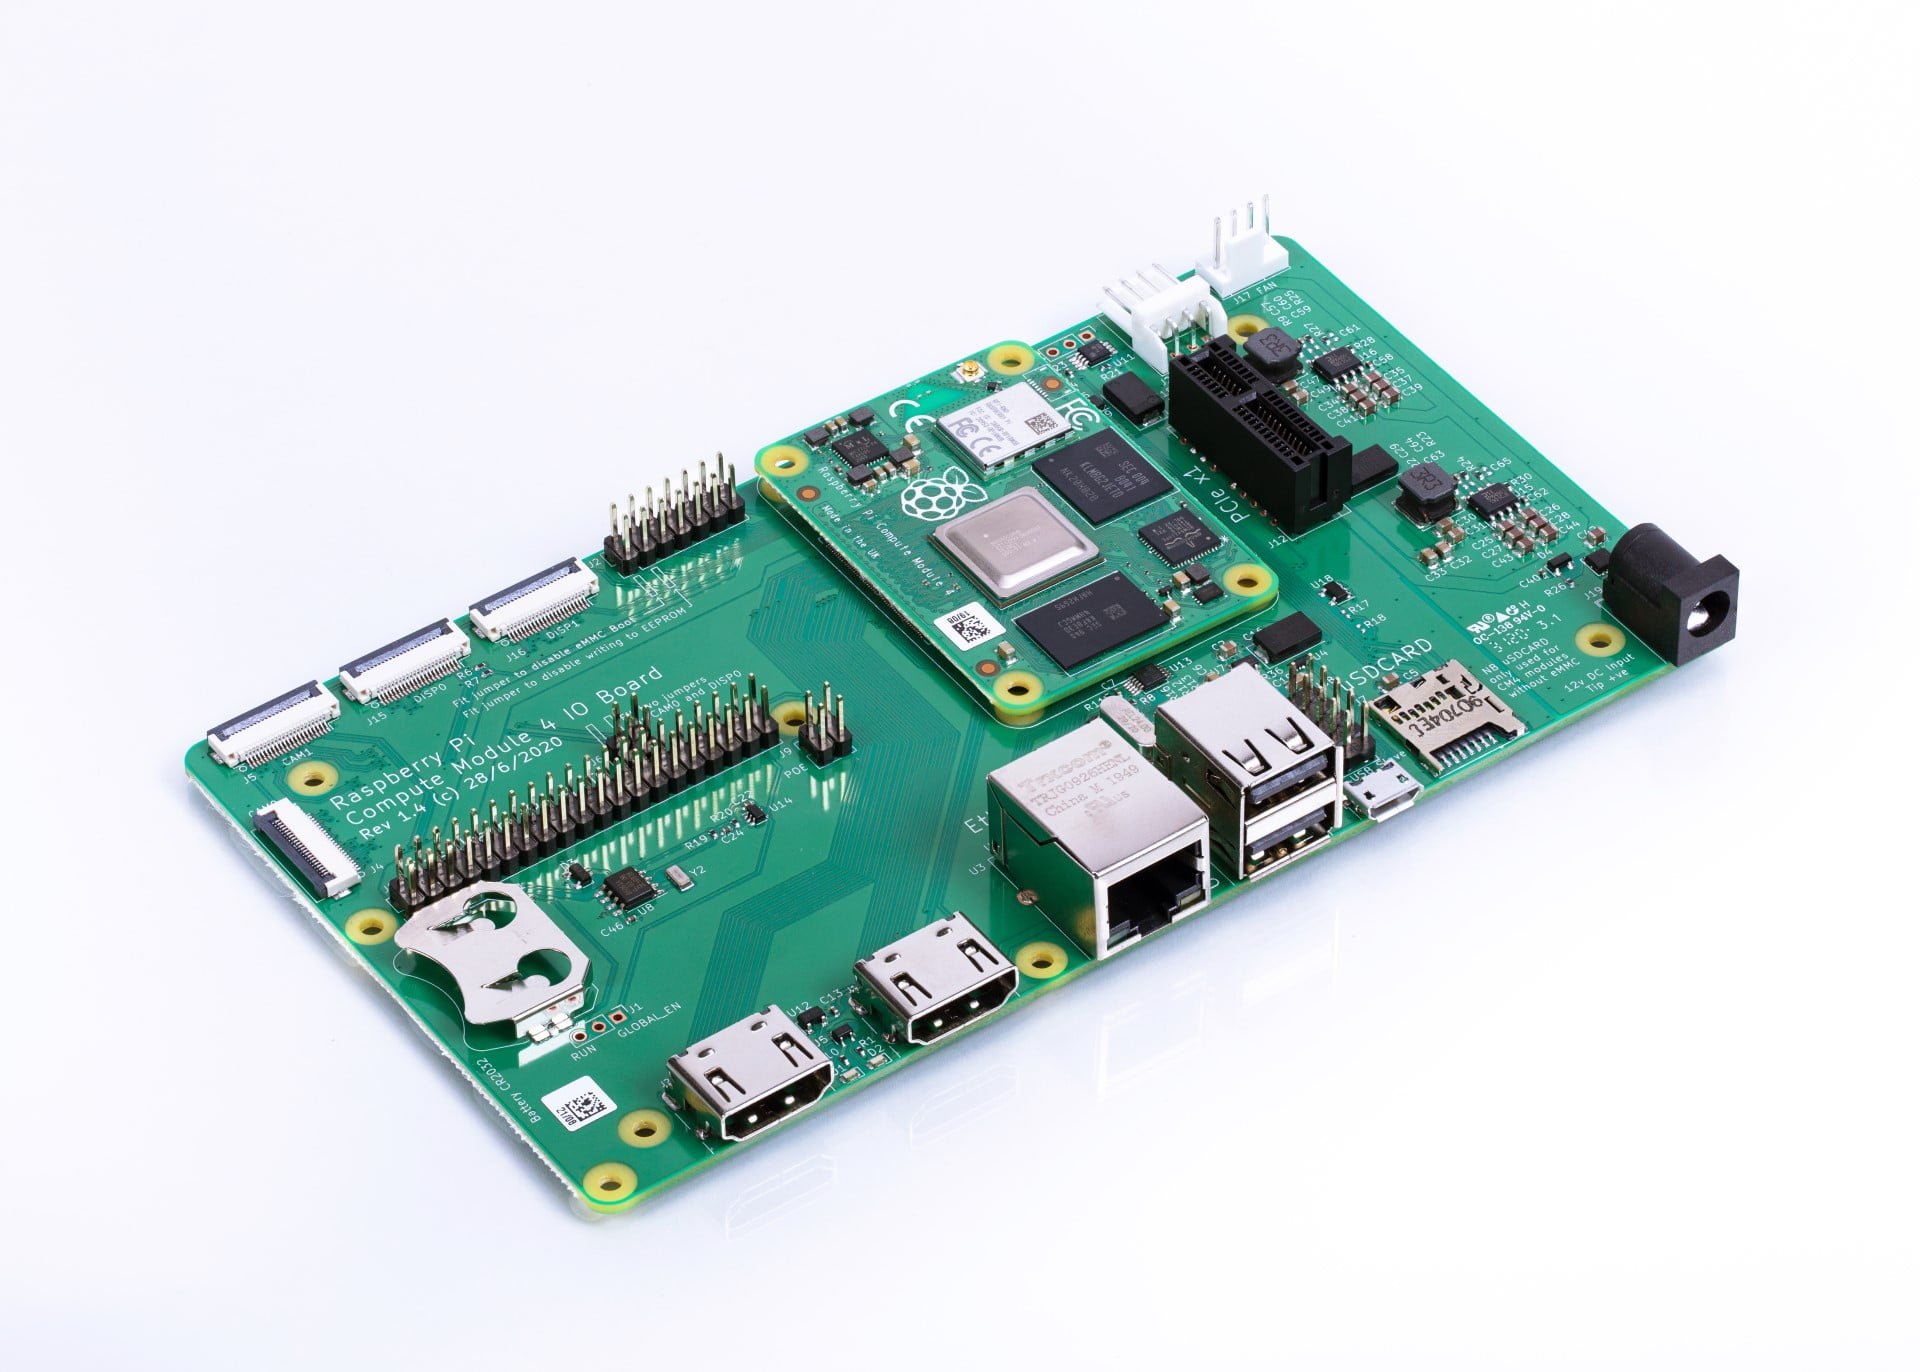
Raspberry Pi Compute Module 4 IO Board • RaspberryPi.dk
